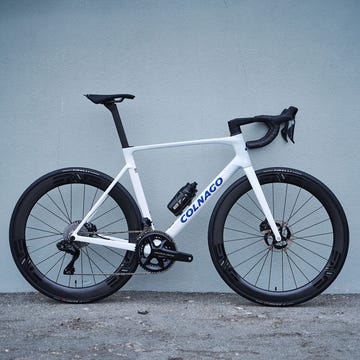
Bicycles equipped with disc brakes are now a familiar sight. If you’ve recently purchased a new road bike, it probably has discs. And if you’ve purchased a new mountain bike in the past 20 years, it definitely has disc brakes.
Touring, adventure, gravel, city, commuter, cargo, e-bikes: No matter the style or purpose, disc brakes are now the standard for all but the least expensive bicycles.
But whether you have a new bike with discs or an older bike that needs brake maintenance—pads wear and rotors also need replacement when they wear past their minimum thickness—you need to know about an important process you can do at home to improve the performance of your disc brakes.
You should do this with a brand-new bike and if you have replaced the pads and/or rotor on your current bike.
The process is usually called bedding, but it is two concurrent processes: Bedding and burnishing.
If you’ve ever taken a ride on a brand new bike with disc brakes, or after replacing your bike’s pads and/or rotor, you’ve noticed that brand new disc brakes don’t work well. Bedding and burnishing are processes that increase the friction (stopping power) of your brake system by preparing the surfaces of the pads and rotor.
Two things happen: The pad surface is made parallel with the rotor, increasing the surface area of the contact patch (bedding), and some of the pad’s friction compound transfers to the rotor’s swept area (burnishing).
Done correctly, the bedding and burnishing process makes discs operate smoothly and quietly, offering maximum stopping power and modulation. Improperly bedded and burnished brakes will not only not offer all their potential power and modulation, but they’ll also be noisy.
Some shops bed disc brakes as part of new-bike builds or repairs—in fact, there are shop tools designed specifically for the purpose.
Even so, knowing how to bed (and burnish) discs is a helpful skill. It’s not a given that a shop will bed your brakes, plus disc pad replacement is a fairly easy process to do at home. And if you give your bike a good cleaning—especially if you use brake cleaner on the pads and rotor—you may need to burnish the brakes again.
I reviewed the bedding and burnishing process of 10 different brands to develop some generalized steps you can use. Below that, I linked to the specific procedures as outlined by the different brands, as well as Park Tool’s method.
Step 1: Get the bike up to speed then, one brake at a time, firmly pull the lever to decelerate the bike, slowing to an almost stop. Do not lock up.
Step 2: Repeat the above a whole bunch of times: 30 times per wheel.
Step 3: Do steps 1 and 2 at a higher speed, around 20 to 25 mph, an additional 10 times per wheel.
Every brand has its own instructions with unique recommendations for speed and number of stops. My two-step process covers all the brands’ general recommendations, but it pays to be informed about the recommendations for the specific parts you’re using.
Note: if you need to bed and burnish your brakes, it means they’re not working correctly. So, take all necessary safety precautions.
No matter the kind of bike, you’ll want to do the process on good pavement. Pavement offers the most, and most consistent, tire grip, and that translates to the most potential braking energy.
You’ll want a straight road section with enough space to get the bike up (and slow down from) to around 15 mph. A slight downhill will make your life easier, but remember your brakes aren’t fully functional at first.
I know that’s a lot of stops, but brakes are essential, so it pays to do the process correctly.
General advice suitable for any disc brake
For Dura Ace, Ultegra, 105, Tiagra, Alivio, Saint, XTR, XT, Deore, Cues, and other Shimano disc brakes
For Red, Force, Rival, Apex, Maven, Code, G2, Guide, Level, DB8, BB-series, and other SRAM and Avid disc brakes
For Dominion, Stroker, Dyno, Prime, Radar, and other Hayes disc brakes.
For Marta, Louise, Gustav, Julie, MT-series, and other Magura disc brakes.
For TRP DH-R, Hylex, HY/RD, Spyre, Spyke and Tektro Aquila, Auriga, Draco, Lyra and other TRP and Tektro disc brakes

A gear editor for his entire career, Matt’s journey to becoming a leading cycling tech journalist started in 1995, and he’s been at it ever since; likely riding more cycling equipment than anyone on the planet along the way. Previous to his time with Bicycling, Matt worked in bike shops as a service manager, mechanic, and sales person. Based in Durango, Colorado, he enjoys riding and testing any and all kinds of bikes, so you’re just as likely to see him on a road bike dressed in Lycra at a Tuesday night worlds ride as you are to find him dressed in a full face helmet and pads riding a bike park on an enduro bike. He doesn’t race often, but he’s game for anything; having entered road races, criteriums, trials competitions, dual slalom, downhill races, enduros, stage races, short track, time trials, and gran fondos. Next up on his to-do list: a multi day bikepacking trip, and an e-bike race.


